
Understanding why ice cubes turn cloudy
Why Does Ice Often Look Cloudy?
If you’ve ever made ice cubes at home and noticed they turn out cloudy instead of crystal clear, you’re not alone. Most people expect their ice to look like the perfectly transparent cubes served in high-end cocktails, but the reality is often different. The main reason for this cloudiness is the presence of impurities and air bubbles trapped inside the ice as it freezes.
When water freezes in a typical home freezer or ice cube tray, it solidifies from the outside in. As the outer layer freezes first, any minerals, dissolved gases, or impurities in the water get pushed toward the center of the cube. This process traps air bubbles and particles, resulting in that familiar cloudy appearance. Tap water, which often contains more minerals and dissolved air, tends to make this effect even more noticeable.
Cloudy ice doesn’t just look less appealing in your glasses or cocktails—it can also affect the taste and texture of your drinks. For those who want the best presentation and flavor, understanding the science behind cloudy ice is the first step to making clear ice cubes at home. If you’re interested in learning more about the process and want to achieve the clearest ice possible, check out this guide on how to achieve the clearest ice with your ice maker.
In the next steps, we’ll look at how choosing the right water, using slow freezing methods, and even specific molds or a small cooler can help you make clear, crystal-like cubes. These techniques are especially useful if you want to cut ice for cocktails, use an ice pick, or create impressive ice spheres for your next gathering.
Choosing the right water for clear ice
What Makes Water the Key Ingredient for Crystal Clear Ice
The quality of water you use is one of the most important factors in making clear ice cubes at home. Most cloudy ice cubes form because of impurities and air bubbles trapped inside the water as it freezes. If you want to make clear cubes for your cocktails or glasses, start by thinking about what’s actually in your water.
- Tap water often contains minerals, chlorine, and other impurities. These can cause your ice cubes to look cloudy and sometimes even affect the taste of your drinks.
- Distilled water is usually the best choice for making clear ice. It has most of the minerals and impurities removed, so you get a more transparent cube.
- Filtered water is a good alternative if you don’t have distilled water. Use a high-quality filter to remove as many impurities as possible.
When you fill your ice molds or trays, try to use cold, filtered, or distilled water. Letting the water sit for a few hours before freezing can help some of the air bubbles escape, which also helps make clear ice. If you’re using a small cooler or directional freezing technique, the water quality still matters just as much.
For those looking for specialty ice, like an ice sphere or a large ice block for cutting with an ice pick or serrated knife, starting with the purest water you can find will always give you the best results. Remember, even the best freezer or cube tray can’t make crystal clear cubes if the water isn’t right.
Want to know where to get the right water or even quality dry ice for your ice maker needs? Check out this guide on where to find quality dry ice in St. Louis for your ice maker needs for more information.
The importance of slow freezing
Why Slowing Down the Freezing Process Matters
If you want to make clear ice cubes at home, the speed at which water freezes is a crucial step. When water freezes too quickly in your freezer or ice cube tray, impurities and air bubbles get trapped inside the cube. This is what causes cloudy ice. Slower freezing allows these impurities and air to escape, resulting in crystal clear ice cubes that look stunning in cocktails and glasses.
- Slow freezing gives air bubbles time to escape: As water turns to ice, dissolved gases and minerals are pushed out. If the process is rushed, these get stuck, making the cube cloudy.
- Helps create larger, clearer cubes: Slow freezing in a mold or small cooler lets you make clear ice blocks or spheres, which melt slower and look impressive in any cocktail.
- Works best with pure water: Using distilled water or boiled tap water can further improve clarity, but the freezing speed is just as important as water quality.
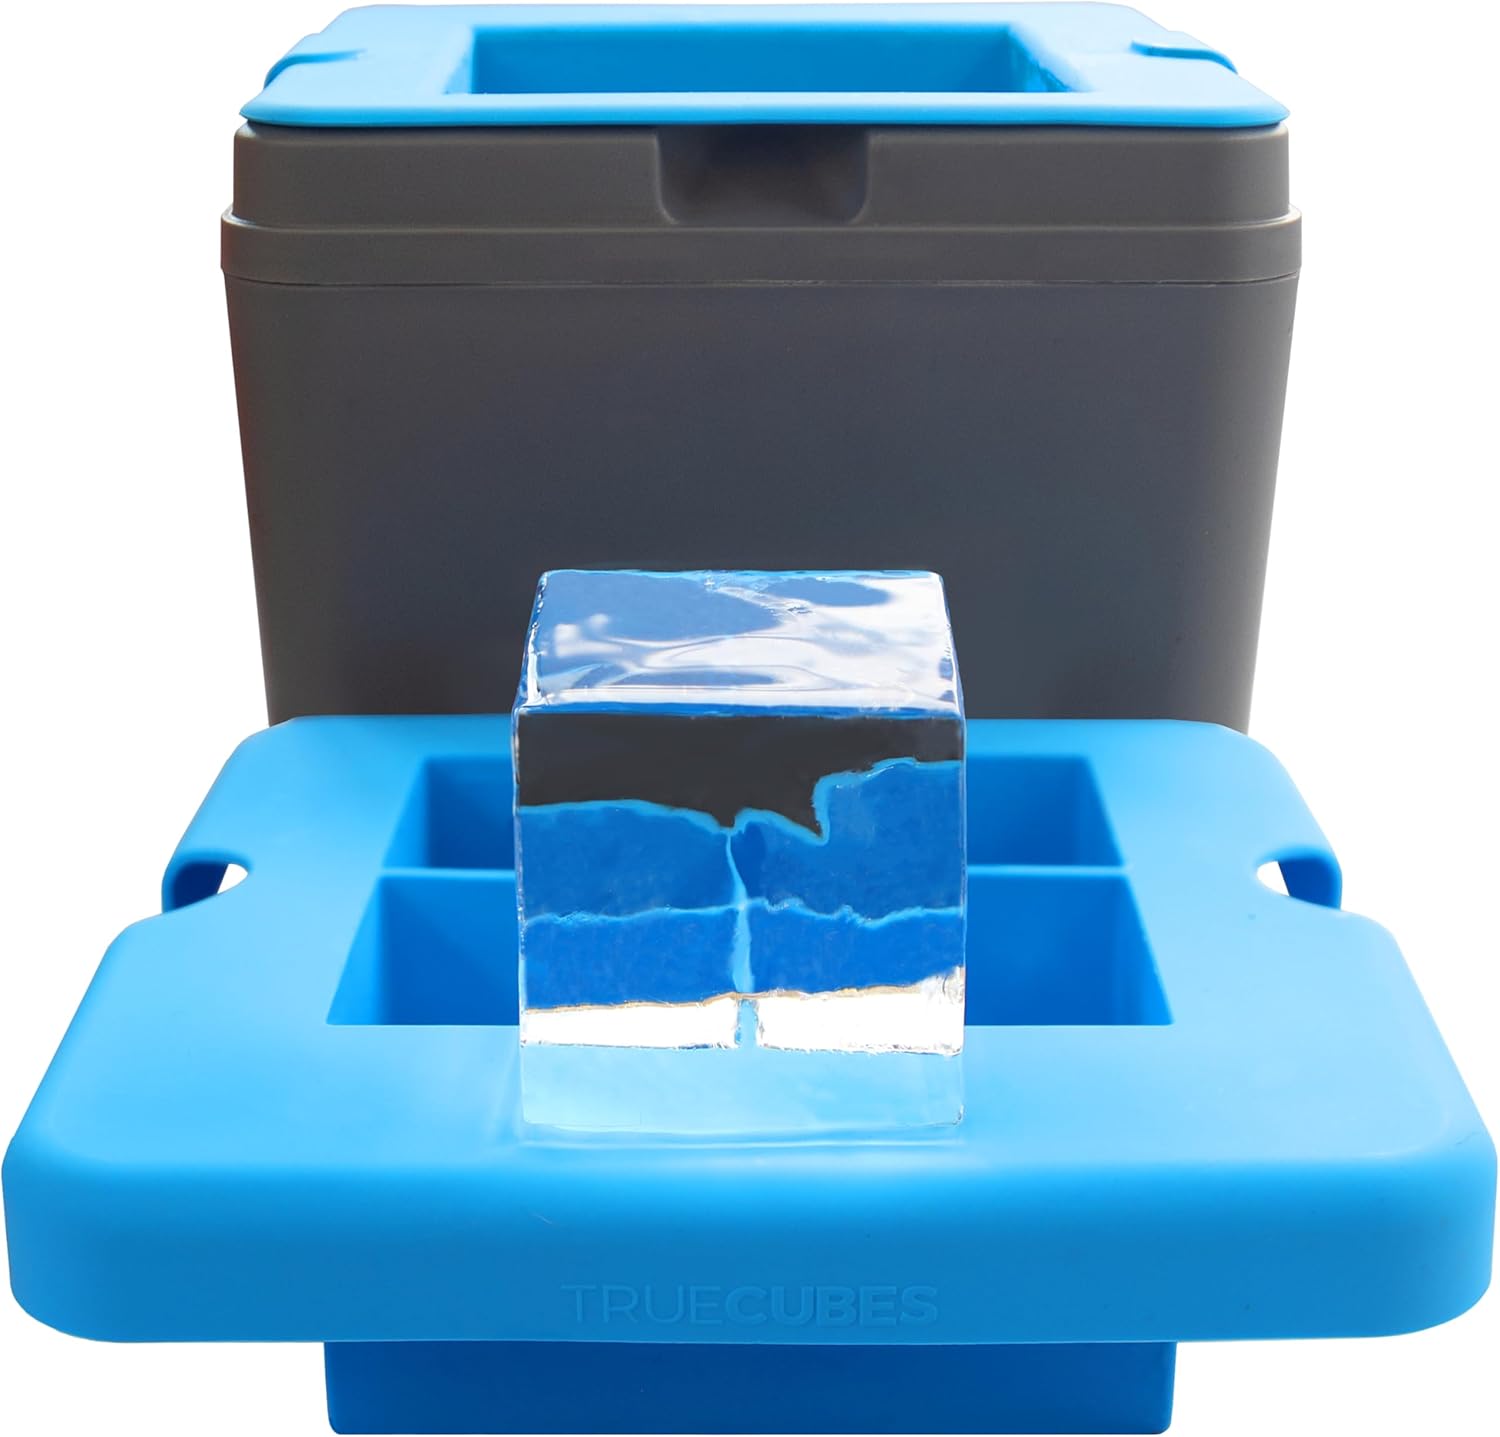
One effective method is to use a small cooler inside your freezer. Fill it with water and leave the lid off. The insulation slows down the freezing from the top down, which is a key part of the directional freezing technique. This method pushes impurities and air to the bottom, so you can cut ice from the top for the clearest cubes or spheres.
It usually takes 18 to 24 hours for a block of ice to freeze slowly in a cooler. Once frozen, you can use a serrated knife or ice pick to cut ice into cubes or shapes that fit your glasses. Remember, patience is key. Rushing the process will almost always result in cloudy ice cubes, no matter how pure your water is or how good your mold or tray might be.
Directional freezing technique explained
How the Directional Freezing Method Works
Directional freezing is the step that truly makes a difference when you want to make clear ice cubes at home. The idea is to control the way water freezes, so impurities and air bubbles are pushed out instead of getting trapped inside the cube. This is what gives you those crystal clear cubes you see in the best cocktail bars.
What You Need for Directional Freezing
- Small cooler or insulated container: This acts as a mold and slows down the freezing process, which is key for clarity.
- Filtered or distilled water: Using the right water helps reduce impurities and minerals that cause cloudy ice.
- Freezer with enough space: Make sure your freezer can fit the cooler or tray upright.
Step-by-Step: Making Clear Ice with Directional Freezing
- Fill your small cooler or mold with filtered or distilled water. Leave some space at the top for expansion.
- Place the cooler in your freezer with the lid off. The open top allows the water to freeze from the top down, pushing air bubbles and impurities to the bottom.
- Let it freeze for about 18 to 24 hours. The top and sides will freeze first, leaving a cloudy layer at the bottom.
- Remove the cooler and take out the ice block. Use a serrated knife or ice pick to cut off the cloudy part at the bottom, leaving you with a clear ice block.
- Cut the block into cubes or spheres, depending on your needs. Use a cube tray or molds for uniform shapes if desired.
Why Directional Freezing Makes a Difference
By freezing water in one direction, you force the impurities and air bubbles down and out, instead of trapping them inside the ice. This method is the best way to make clear ice cubes at home without expensive equipment. The result is ice that looks stunning in glasses and melts slower, keeping your cocktails crisp and undiluted.
Directional freezing works for both cubes and larger ice spheres, making it a favorite for anyone serious about their cocktails. With a little patience and the right tools, you can achieve bar-quality, crystal clear ice cubes in your own freezer.
Tips for using ice makers to get clear ice
Getting the Most Out of Your Ice Maker for Crystal Clear Results
Using an ice maker can be a game changer when you want to make clear ice cubes at home. However, not all ice makers are designed to produce crystal clear cubes right out of the box. Here are some practical steps and tips to help you get the best results from your machine:
- Start with the right water: As covered earlier, using filtered or distilled water reduces impurities and air bubbles, which are the main causes of cloudy ice. Tap water often contains minerals that make cubes look cloudy.
- Pre-boil your water: Boiling water before pouring it into your ice maker or molds helps remove dissolved gases. Let it cool before use for the clearest cubes.
- Use slow freezing: Many countertop ice makers freeze water quickly, trapping air and impurities. If your machine allows, choose a slower freeze setting or use a small cooler inside your freezer to mimic commercial ice makers. This helps push air and impurities to the bottom, leaving the top layer clear.
- Try directional freezing: Some ice makers and molds are designed to freeze water from one direction, usually top to bottom. This method, known as directional freezing, helps create clear ice blocks by forcing impurities downward. If your machine doesn’t have this feature, you can use a small insulated cooler as a mold inside your freezer.
- Regular cleaning: Mineral buildup and residue inside your ice maker can affect the clarity of your cubes. Clean your machine and cube trays regularly according to the manufacturer’s instructions.
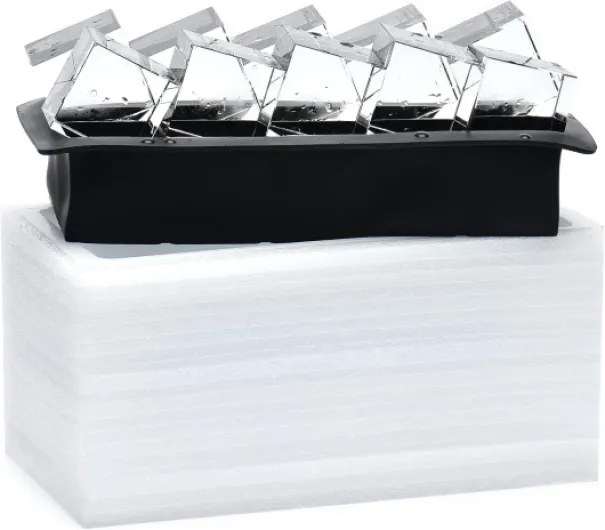
- Use the right molds: Silicone molds or trays designed for clear ice can help. Larger molds, such as those for ice spheres or blocks, freeze more slowly and often result in clearer cubes for cocktails and glasses.
For those who want perfectly clear cubes for cocktails, using an ice pick or serrated knife to cut ice blocks into smaller cubes can also help achieve that crystal clear look. Remember, the key steps are using pure water, freezing slowly, and minimizing trapped air and impurities. With a bit of practice and the right equipment, your ice maker will produce stunning, clear cubes that elevate any drink.
Storing and handling clear ice cubes
Keeping Your Clear Ice Pristine
Once you’ve gone through the effort to make clear ice cubes, it’s important to store and handle them properly to keep them crystal clear and ready for your next cocktail. Even the best ice can turn cloudy or pick up off-flavors if not cared for. Here are some practical steps to help you maintain the quality of your clear cubes:
- Use a dedicated container: Store your clear ice cubes in a clean, airtight container or a small cooler inside your freezer. This helps prevent the cubes from absorbing odors from other foods and keeps impurities away.
- Minimize freezer time: The longer ice sits in the freezer, the more likely it is to develop freezer burn or pick up cloudy spots. Try to use your clear cubes within a few days for the best results in your cocktails and glasses.
- Handle with care: Always use clean tongs or an ice pick to remove cubes from the tray or mold. Touching ice with your hands can transfer oils and impurities, which may cause cloudiness or affect the taste.
- Cutting and shaping: If you’re making large ice blocks or ice spheres, use a serrated knife or ice pick to cut ice. This helps avoid cracks and keeps the cubes looking their best for serving in cocktails.
- Keep cubes separated: Don’t let your clear ice cubes stick together in the tray or container. If they do, gently separate them to avoid chipping or clouding the surface.
- Serve immediately: For the clearest presentation, add the ice to your cocktail or water glasses just before serving. This prevents melting and keeps the cubes looking crystal clear.
By following these steps, you’ll make sure your clear ice cubes stay as impressive as when you first removed them from the mold. Whether you’re using distilled water, directional freezing, or a specialty cube tray, proper storage and handling make all the difference in achieving that perfect, crystal clear look for your cocktails.