

Why making clear ice matters for serious home cocktails
For an ice maker buyer, making clear ice is about more than looks. When each ice cube is crystal clear, it melts slower and keeps a cocktail cold without flooding it with remaining water. Clear cubes also signal that your water, your freezer, and your technique are under control.
Cloudy ice forms when air and impurities freeze from the outside in, trapping bubbles in the center. To avoid this, you must manage how water cools from top to bottom and how fast cold air moves around the tray. Purpose built clear ice makers simply automate this directional freezing process and protect the cubes from harsh freezer weather.
Start by evaluating the quality of your tap water before you even fill a tray. Many buyers in dense cities such as San Francisco rely on tap water, yet they still achieve clear ice by filtering and degassing it. If your tap water tastes off, a basic filter or bottled water will immediately improve both flavor and transparency.
Think about how you will use each ice cube in real drinks. Large cubes or a single ice block are ideal for a spirit forward cocktail, while smaller cubes suit long drinks in a tall cooler glass. Matching cube size to drink style is the first step toward making clear ice that feels intentional rather than improvised.
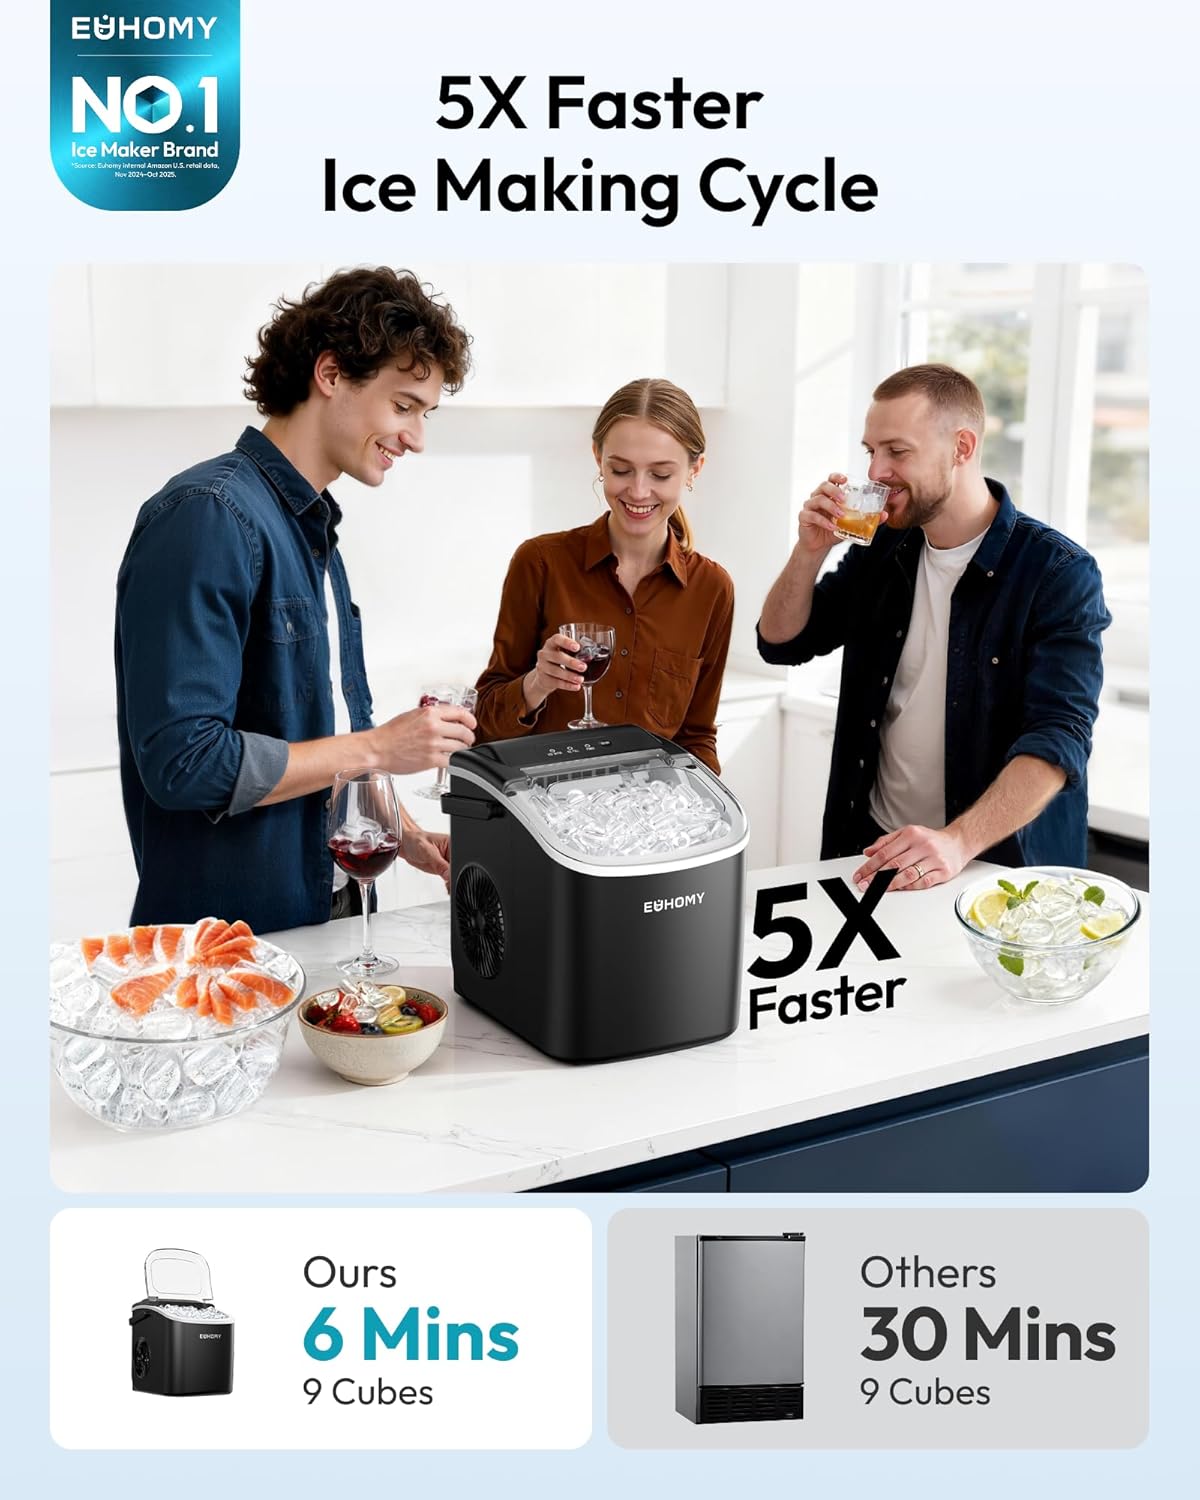
Professional bartenders often judge an ice maker by how consistently it produces clear cubes. As a product tester, I focus on how easy the controls feel, how much freezer space the unit demands, and how quickly it recovers between batches. These practical details matter as much as the final crystal clear appearance of the ice.
Controlling water, air, and time for crystal clear cubes
Every method for making clear ice starts with how you fill the reservoir or tray. Pour cold but not icy tap water slowly, which helps air escape and reduces bubbles that would cloud the cubes. Leave a little space at the top so expanding ice does not crack and create frosty fractures.
Directional freezing is the principle that separates cloudy ice from clear ice. In a well designed ice maker, water freezes from the top down or from one controlled side, pushing air and minerals toward the bottom or into a separate chamber. This creates a clear ice block on top and a layer of cloudy remaining water that you can discard.
Home users can mimic this by placing an insulated container in the freezer. The insulated sides and bottom slow the cold air, so freezing happens mainly at the exposed top surface. After enough time, you remove the container, separate the clear ice block from the cloudy bottom section, and cut it into cubes.
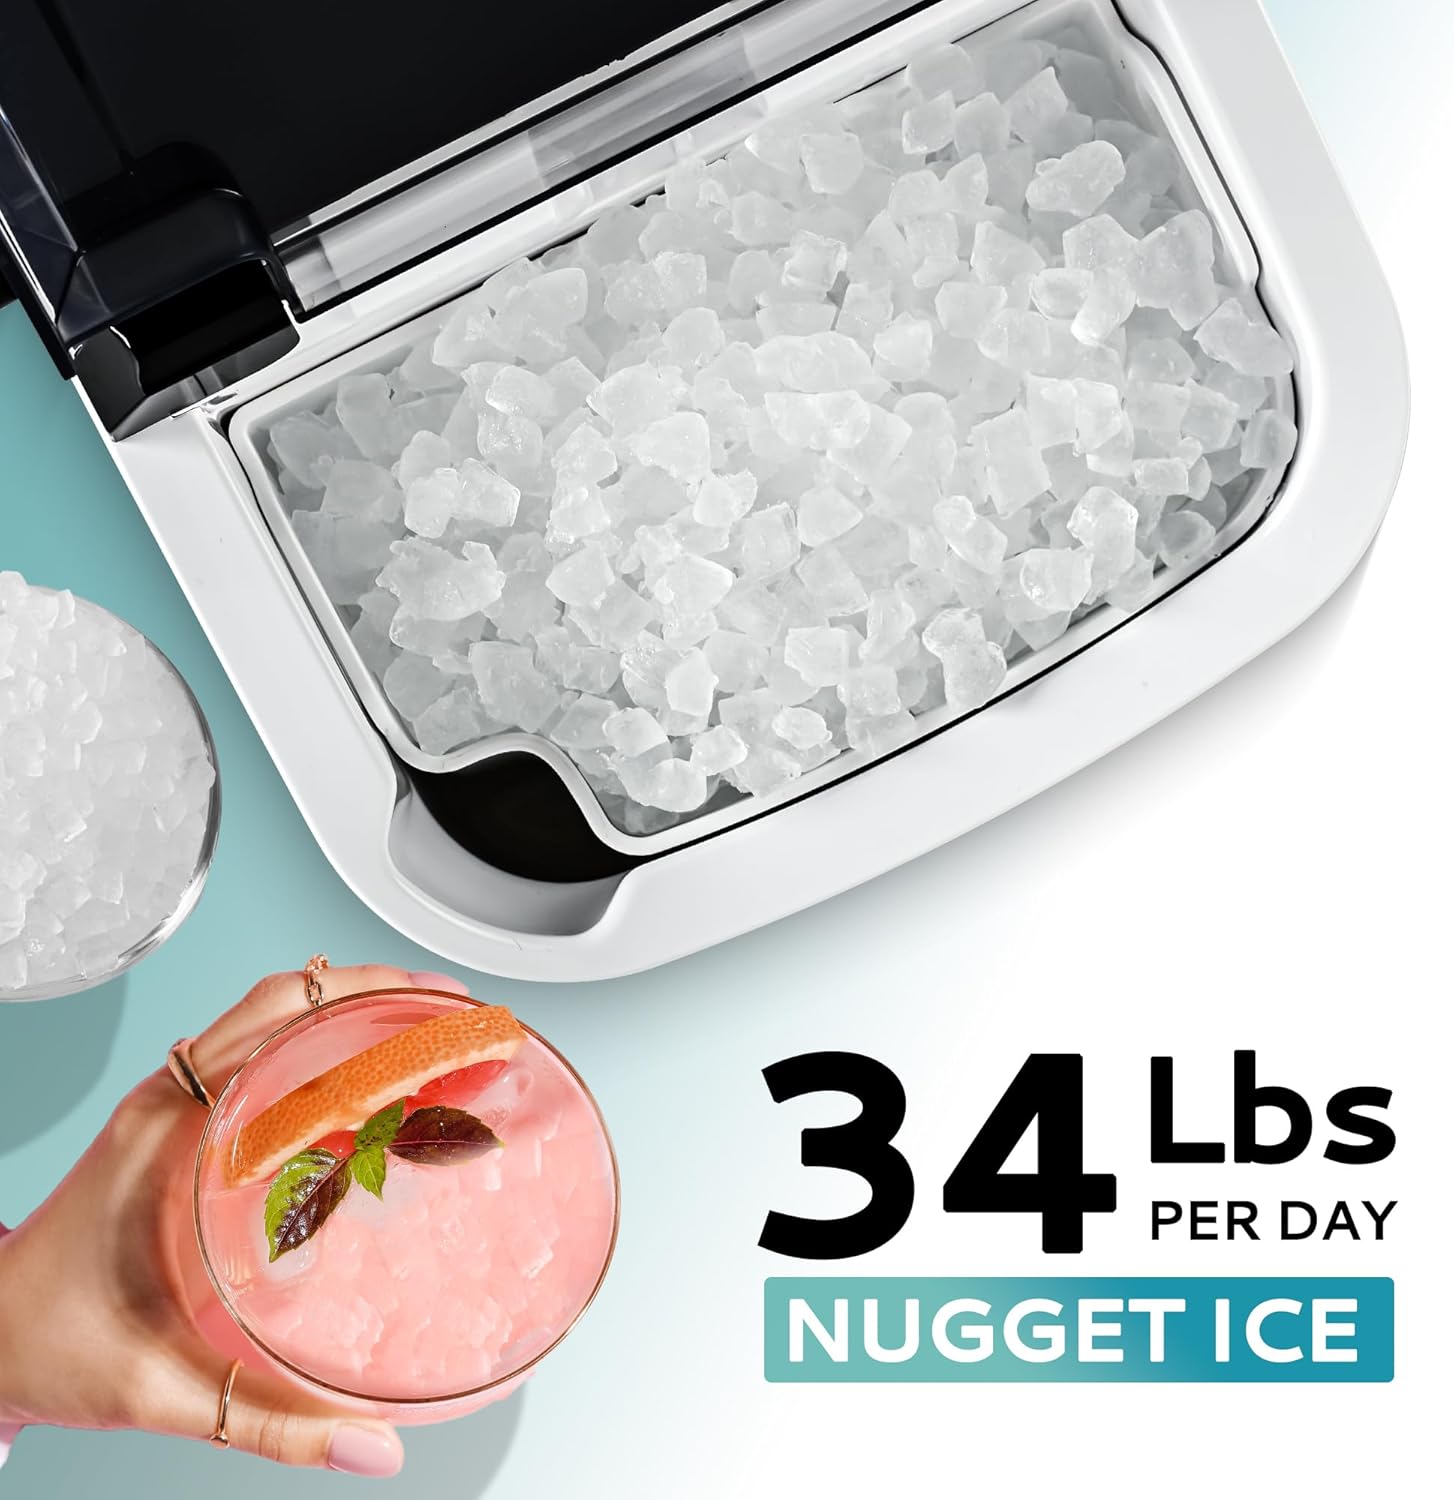
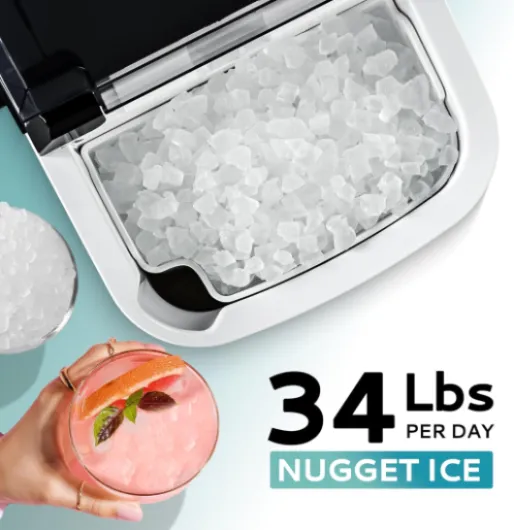
Some countertop machines simplify this process with automated cycles and self cleaning modes. When testing a nugget style unit, I check whether its softer ice can still support making clear ice for cocktails when needed. For more details on such a device, see this review of a nugget countertop ice maker with self cleaning.
Time is the final variable that many ice maker buyers underestimate. Freezing too fast traps air, while freezing too slowly in an open tray exposes water to freezer odors and fluctuating weather inside the compartment. Aim for a steady, moderate freeze so each ice cube becomes crystal clear without absorbing unwanted smells.
Managing freezer space, containers, and everyday practicality
Even the best technique for making clear ice fails if your freezer space is chaotic. Reserve a stable shelf where cold air circulation is predictable and where food odors from the bottom drawers will not reach your trays. Avoid placing aromatic items like fish or open sauces near your clear ice containers.
Many home bartenders use a small insulated cooler as a directional freezing chamber. Fill it with tap water, leave the lid off, and place it carefully on the top shelf so the exposed surface freezes first. After the upper block becomes solid, remove it, trim the cloudy bottom, and you will have a large clear ice block ready for cutting.
Once you cut the block into cubes, storage becomes critical for maintaining clarity and flavor. Transfer each ice cube into a clean ziplock bag, press out excess air, and seal it tightly to protect against freezer weather and stray aromas. Label the ziplock with the freezing time so you rotate stock and avoid very old cubes.
For buyers who travel frequently, similar principles apply to compact appliances in vehicles. A well chosen motorhome refrigerator must keep air flow stable so ice cubes and ice blocks stay clear during long trips. You can explore how to evaluate such appliances in this guide to smart choices on motorhome fridges for sale.
Always think about how easy your routine feels on busy days. If making clear ice requires too many steps, you will eventually skip main parts of the process and accept cloudy cubes. A well designed ice maker should reduce friction, automate water filling, and keep maintenance simple enough for daily use.
Evaluating ice maker designs for clear cubes and blocks
When testing ice makers, I focus on how each design handles water flow, freezing direction, and insulation. Machines that channel tap water from top to bottom and then purge the remaining water usually produce the clearest cubes. Units that freeze water in all directions at once tend to trap air and create cloudy centers.
Look closely at the shape and size options for each ice cube or ice block setting. Larger cubes and blocks are better for a spirit forward cocktail because they expose less surface area to the drink. Smaller cubes chill faster but melt more quickly, which can dilute flavors if you do not adjust your recipe or serving time.
Some premium machines include dedicated clear ice modes that extend the freezing cycle. These modes slow the cold air impact and allow bubbles to escape toward the bottom chamber. The trade off is longer time before the first batch, but the resulting crystal clear cubes justify the wait for serious enthusiasts.
As you compare models, pay attention to how they fit into your freezer space or countertop layout. A compact unit that vents warm air from the top may sit comfortably under cabinets, while side venting designs need more clearance. Always check whether the drain or remaining water reservoir is easy to access and clean.
For buyers who want oversized cubes for premium drinks, specialized appliances can be transformative. You can see how large format machines elevate presentation in this article on giant ice cube makers for home cocktails. These devices focus on making clear ice blocks that you then cut into perfect cubes for visually striking serves.
Techniques to reduce impurities and trapped air in tap water
The clarity of your ice starts with the clarity of your water. Even when tap water meets safety standards, dissolved minerals and microscopic air pockets can still cloud an ice cube. Filtering, boiling, and resting the water are simple steps that significantly improve making clear ice at home.
Begin by running tap water through a reliable household filter or using bottled spring water. Bring this water to a gentle boil, then let it cool until it feels cold but not icy before you fill trays or an ice maker reservoir. Boiling drives off some dissolved gases, which reduces the amount of air that can become trapped as cubes freeze.
After boiling, allow the water to rest uncovered for a short time. This pause lets additional air escape naturally from the surface, especially if the surrounding air is calm and not too cold. When you finally pour, do so slowly along the side of the container to avoid reintroducing bubbles.
In product testing, I also evaluate how machines handle internal water pathways. Smooth channels and gentle pumps move water without whipping in excess air, which supports the formation of crystal clear ice blocks and cubes. Rough or turbulent paths can create microbubbles that later appear as white streaks in the finished ice.
Remember that even with perfect preparation, some remaining water at the bottom of a directional freezing setup will always be cloudy. This is normal and shows that minerals and air have been pushed away from the clear ice above. Discard this bottom layer rather than refreezing it, because it will only compromise the next batch.
Serving, storing, and using clear ice in real world cocktails
Once you master making clear ice, the next challenge is using it well. Always pre chill your cocktail glass so the first contact between ice and warm glass does not cause rapid melting. This simple step keeps each ice cube intact longer and preserves the clarity you worked to achieve.
For spirit forward drinks, choose a single large cube or a carved ice block. The reduced surface area slows dilution, allowing the cold to develop gradually while aromas rise through the air. In tall cooler drinks, several medium cubes create a stable column that chills evenly from top to bottom.
Store finished cubes in a sealed ziplock bag or rigid container. Squeeze out excess air before sealing, then place the bag where freezer weather is most stable and away from the door. Frequent door openings cause temperature swings that can crack cubes and create a frosty layer on previously crystal clear surfaces.
When planning a gathering, calculate how much freezer space you need for both food and ice. Make batches of clear ice in advance, stacking ziplock bags flat so they freeze and thaw uniformly. Rotate older cubes to the front so you always serve the freshest, most transparent ice first.
Finally, remember that privacy matters when you research appliances online. Before purchasing any ice maker, read the website privacy policy to understand how your data is handled and whether you can easily skip main marketing communications. Responsible brands that respect privacy often show the same attention to detail in their product design and long term reliability.
Adapting clear ice techniques to different climates and freezers
Environmental conditions influence how easily you can achieve clear ice at home. In humid weather, frost buildup in the freezer can increase and affect how cold air moves around trays and containers. In very dry climates, ice may sublimate faster, slowly shrinking cubes and altering their surface texture.
If you live in a coastal city such as San Francisco, pay attention to how often your freezer defrosts. Frequent cycling can warm the top layer of an ice block, then refreeze it, creating a cloudy band near the surface. To counter this, schedule your making clear ice sessions during periods when the freezer door stays closed for several hours.
Chest freezers usually provide more stable temperatures than upright models. Their cold air tends to remain at the bottom, which can be helpful when you place an insulated cooler or tray on the top layer. Upright freezers, by contrast, may expose clear ice to more frequent air movement each time you open the door.
Regardless of climate, monitor how long each batch spends in the freezer. Leaving a clear ice block for far longer than necessary can lead to surface dehydration and tiny cracks, especially when surrounding air is very cold. Remove the block once fully frozen, cut it into cubes, and transfer them promptly to sealed storage.
As an ice maker product tester, I have seen that buyers who adapt their routine to local weather achieve more consistent results. By understanding how air, water, and time interact in your specific environment, you can maintain crystal clear cubes across seasons. This thoughtful approach ensures that every cocktail benefits from ice that looks as refined as it tastes.
Key statistics about clear ice performance
- Up to 70 % of dilution in cocktails comes from poorly controlled ice melt rather than intentional stirring or shaking.
- Large format clear ice cubes can melt up to 40 % slower than standard cloudy freezer cubes of similar volume.
- Directional freezing methods typically waste about 10–20 % of the original water volume as cloudy remaining water.
- Dedicated clear ice makers can reduce manual preparation time by approximately 50 % compared with traditional tray methods.
Frequently asked questions about making clear ice
Why does my ice stay cloudy even when I use filtered water ?
Cloudiness usually comes from trapped air and freezing direction rather than water purity alone. If water freezes from all sides at once, bubbles become locked in the center of each cube. Use directional freezing, slower cooling, and degassed water to significantly improve clarity.
Is boiled water always necessary for making clear ice at home ?
Boiling water is not strictly required, but it helps remove some dissolved gases that can cause cloudiness. Many users achieve excellent results with well filtered tap water and careful directional freezing. If you want maximum transparency, combining filtration, boiling, and resting the water is a reliable approach.
How long should I freeze a large clear ice block before cutting it ?
Freezing time depends on block size, container insulation, and freezer temperature. As a general guide, a medium insulated cooler filled with water often needs between 18 and 24 hours. Check that the top and sides feel completely solid, then remove the block before the entire bottom becomes fully cloudy.
Can I use clear ice techniques in a small apartment freezer ?
Yes, but you must plan freezer space and airflow carefully. Use smaller containers, keep food odors sealed, and avoid opening the door frequently during the freezing cycle. Even in compact freezers, directional freezing with a small insulated box can produce impressively clear cubes.
Do specialized clear ice makers justify their higher price for home users ?
For occasional casual drinks, simple tray methods may be sufficient. However, frequent hosts and cocktail enthusiasts often appreciate the consistency, speed, and ease of dedicated clear ice makers. The investment makes sense when you value repeatable results, reduced manual work, and professional level presentation.