

Understanding why regular cleaning matters
Why a clean ice maker is essential for fresh ice
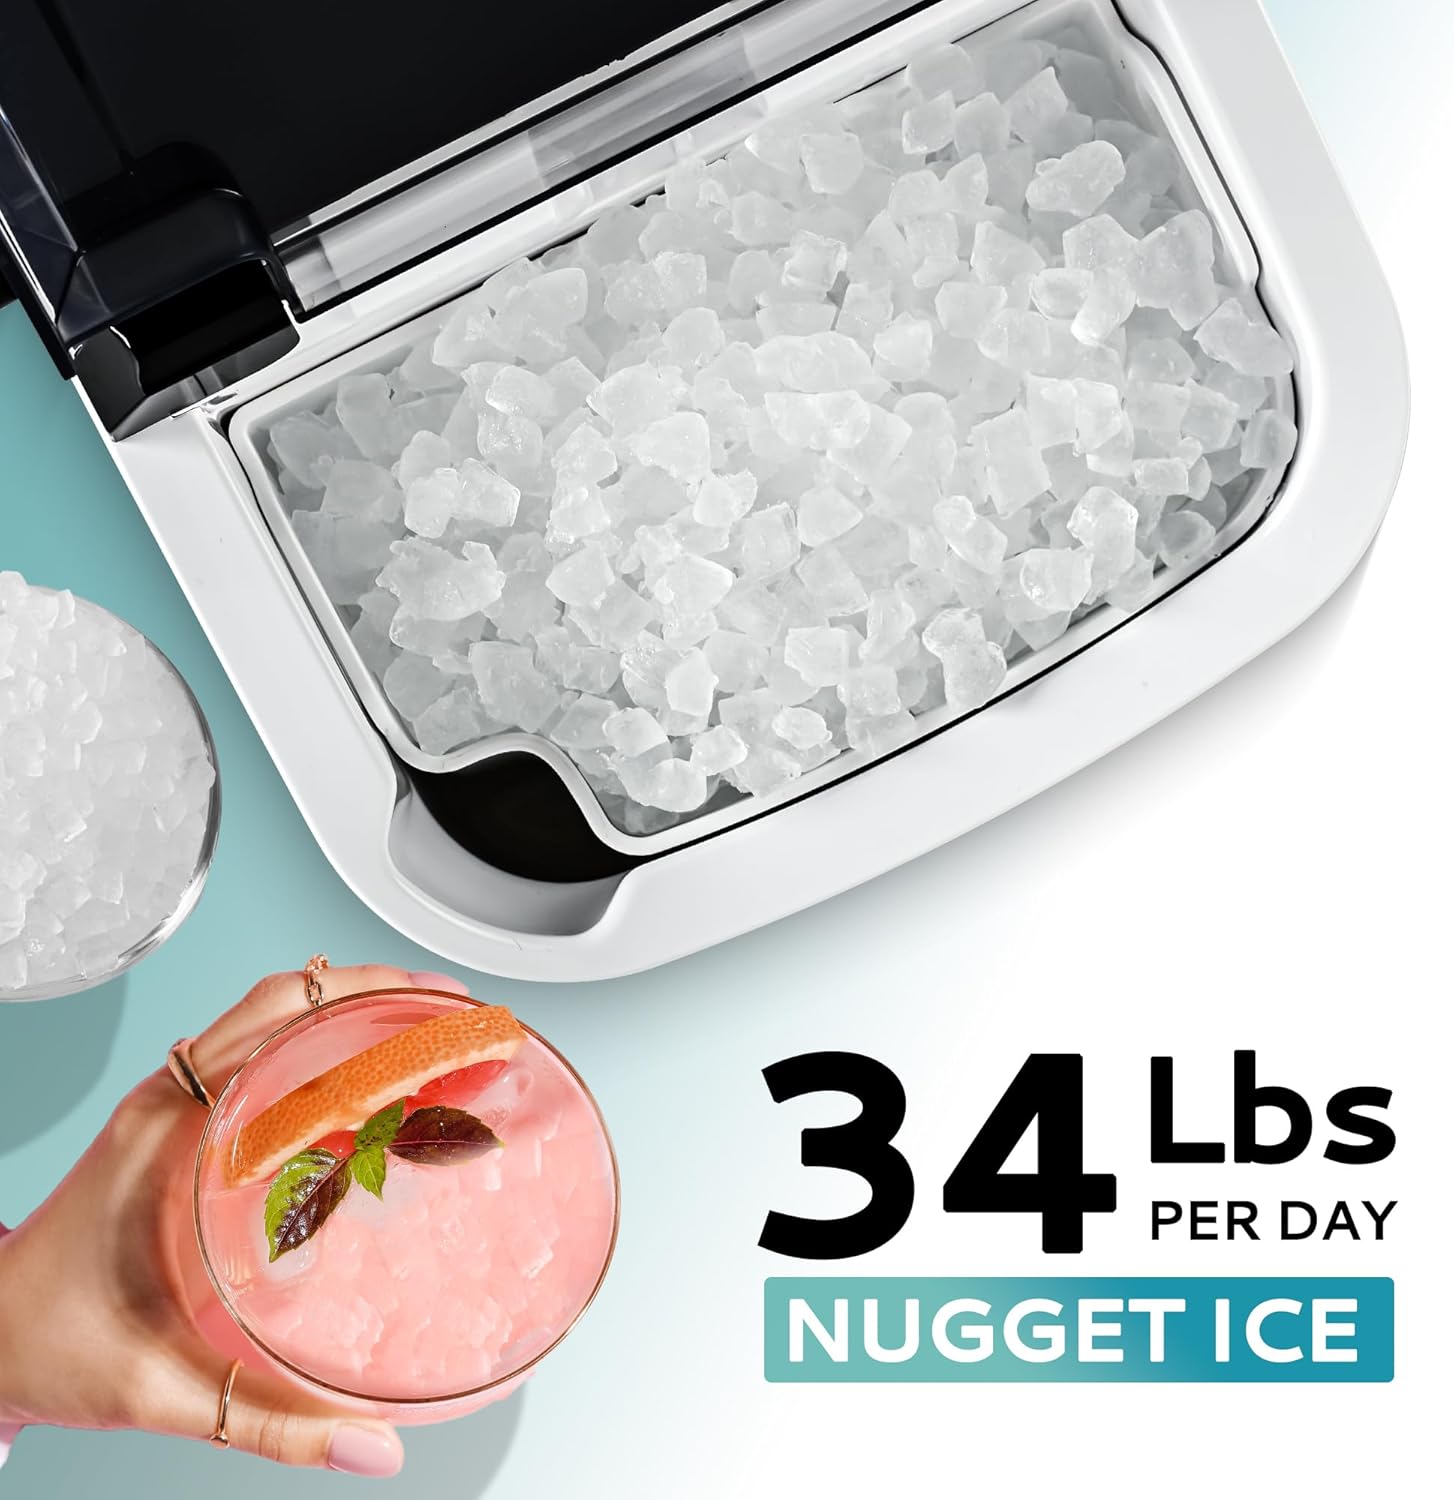
Keeping your countertop ice machine clean is not just about looks—it’s about making sure every batch of ice is safe, fresh, and tastes great. Over time, minerals from water, dust from the air, and even leftover ice can build up inside your unit. This buildup can affect the taste and clarity of your ice, and in some cases, even damage the machine’s interior parts or reservoir.
Regular cleaning maintenance helps prevent mold, bacteria, and mineral deposits from forming in hard-to-reach areas. If you don’t clean your ice maker, you might notice cloudy ice, strange tastes, or even a drop in performance. Portable ice makers and countertop ice machines are especially prone to these issues because they’re often used in kitchens where food particles and moisture are present.
- Clean ice starts with a clean machine—neglecting cleaning can lead to unpleasant odors and dirty ice cubes.
- Water left in the reservoir or ice bin can become stagnant, affecting both the taste and safety of your ice.
- Regular cleaning also helps extend the life of your unit by keeping all parts working efficiently.
For those who want to take their ice game to the next level, learning how to make perfectly clear ice spheres at home can be a fun project, but it all starts with a well-maintained, clean ice maker. In the next sections, you’ll find practical tips on gathering the right cleaning supplies, step-by-step cleaning instructions, and how to handle common cleaning challenges to keep your portable ice machine in top shape.
Gathering the right cleaning supplies
Essential items for a thorough cleaning
Before you start cleaning your countertop ice machine, it’s important to gather the right supplies. Having everything ready will make the process smoother and help you keep your unit in top shape for fresh ice every time. Here’s what you’ll need for effective cleaning maintenance:
- Soft cloths or sponges: For wiping down the interior, exterior, and removable parts without scratching surfaces.
- Warm water: Essential for rinsing and dissolving cleaning solution residue. Always use clean water to avoid contaminating the machine.
- Mild cleaning solution: Choose a cleaner that’s safe for food-contact surfaces. Avoid harsh chemicals that could damage the ice maker or leave unwanted tastes in your ice.
- White vinegar or specialized ice machine cleaner: Useful for breaking down mineral deposits and sanitizing the reservoir and hard-to-reach areas.
- Soft-bristled brush or toothbrush: Helps clean hard-to-reach spots inside the unit and around the ice bin.
- Dry towel: For drying the machine and removable parts after cleaning and rinsing.
- Container or bowl: To catch any remaining ice or water when you empty the reservoir.
Make sure to unplug your portable ice maker before starting any cleaning cycle. Remove all remaining ice from the ice bin and empty water from the reservoir. If you notice any signs of mold or stubborn buildup, check out this guide on handling mold issues in your ice machine for additional tips.
With these supplies ready, you’ll be able to clean both the interior and exterior of your countertop ice machine efficiently, ensuring your unit produces clean ice every time. Regular cleaning and proper maintenance are key to keeping your machine running smoothly and your ice tasting fresh.
Step-by-step guide to cleaning the interior
Getting Your Ice Maker Interior Spotless
A clean interior is essential for fresh, great-tasting ice every time. Here’s a straightforward process to help you maintain your countertop ice machine’s interior, whether you have a portable unit or a larger model.- Unplug and Empty: Always unplug your ice maker before cleaning. Remove any remaining ice from the ice bin and empty water from the reservoir. This step keeps you safe and ensures you’re not mixing old water with your cleaning solution.
- Remove Removable Parts: Take out any removable parts, like the ice bin, water reservoir, and scoop. These parts can often be cleaned separately for a more thorough maintenance routine.
- Prepare Your Cleaning Solution: Use a mixture of warm water and a mild cleaning solution that’s safe for food-contact surfaces. Avoid harsh chemicals that could damage the machine or affect the taste of your ice.
- Wipe Down the Interior: Use a soft cloth or sponge to clean the interior surfaces, paying special attention to hard-to-reach areas. If your machine has a cleaning cycle, now is a good time to run it with clean water and your cleaning solution.
- Rinse Thoroughly: After cleaning, rinse the interior with clean water to remove any cleaning solution residue. This step is crucial for keeping your ice tasting fresh and free from unwanted flavors.
- Dry Completely: Allow the interior and all parts to air dry before reassembling. This helps prevent mold and keeps your ice maker in top condition.
Cleaning the exterior and removable parts
Focus on Removable Parts and the Exterior
When it comes to cleaning your countertop ice machine, don’t overlook the exterior and removable parts. These areas can collect dust, water spots, and even residue from regular use. Keeping them clean is essential for both hygiene and the longevity of your unit.- Unplug the machine and empty any remaining ice from the ice bin. Remove the water reservoir if your model allows it.
- Detach removable parts such as the ice bin, water reservoir, and scoop. These parts often come into direct contact with water and ice, so regular cleaning is a must.
- Wash each part with warm water and a mild cleaning solution. Avoid harsh chemicals that could damage the surfaces or leave residues that affect the taste of your ice.
- Rinse thoroughly to ensure no cleaning solution remains. Let all parts air dry completely before reassembling. This step helps prevent mold and keeps your ice fresh.
- Wipe down the exterior of the machine with a soft cloth dampened with clean water. Pay attention to hard-to-reach spots and any buttons or display panels. Dry with a clean towel to avoid water spots.
How often should you clean your ice maker?
Finding the Right Cleaning Frequency for Your Ice Maker
Keeping your countertop ice machine in top condition means knowing how often to clean it. Regular cleaning is essential for fresh, clean ice and to maintain the performance of your unit. The right cleaning schedule depends on several factors, including how often you use the machine, the quality of your water, and your environment.
- Light use (a few times a week): Clean the interior and removable parts at least once a month. This helps prevent mineral buildup and keeps the ice bin and reservoir free from residue.
- Heavy use (daily or commercial): Increase cleaning maintenance to every two weeks. Hard water or frequent use can cause scale and bacteria to develop faster inside the machine and on hard-to-reach parts.
- After long periods of inactivity: Always clean and dry the machine before storing, and clean again before using it to ensure clean water and fresh ice.
Don’t forget to empty water and remove any remaining ice before starting a cleaning cycle. If your portable ice maker has a self-cleaning function, use it as recommended by the manufacturer, but also rinse and wipe the interior and clean exterior surfaces regularly. For portable units, air dry all parts thoroughly before reassembling to avoid moisture buildup.
Sticking to a regular cleaning routine not only keeps your ice fresh but also extends the life of your machine. If you notice cloudy ice, odd tastes, or decreased performance, it’s a sign to clean hard-to-reach areas and check for any buildup in the reservoir or ice bin. Consistent maintenance ensures your countertop ice machine continues to deliver clean ice every time.
Troubleshooting common cleaning challenges
What to Do When Cleaning Gets Tricky
Sometimes, even with regular cleaning and the right supplies, your countertop ice machine can present a few stubborn challenges. Here are practical solutions for common cleaning issues that ice maker owners often face:- Hard-to-Reach Spots: The interior of your ice maker, especially around the reservoir and ice bin, can be tough to access. Use a soft brush or a narrow bottle brush to gently scrub these areas. Make sure to rinse thoroughly with clean water to remove any cleaning solution residue.
- Stubborn Mineral Build-Up: If you notice white or chalky deposits inside your unit, this is likely mineral scale from hard water. Run a cleaning cycle with a mixture of warm water and a manufacturer-approved cleaning solution. Let it sit for a few minutes before rinsing. Repeat if necessary to keep your machine producing clean ice.
- Lingering Odors: After cleaning, sometimes odors remain. To address this, leave the lid or door open for a few hours to allow air to circulate and the interior to dry completely. You can also wipe the interior with a solution of water and a small amount of baking soda, then rinse and dry.
- Cleaning Removable Parts: If parts like the ice bin or water reservoir are difficult to remove, consult your machine’s manual for guidance. Always dry these parts thoroughly before reassembling to prevent moisture buildup and mold.
- Water Not Draining Properly: If you notice water pooling inside the machine after cleaning, check for clogs in the drain or reservoir. Remove any remaining ice and use a soft cloth to soak up excess water. Regular maintenance helps prevent this issue.
Extra Tips for Effective Cleaning Maintenance
- Always empty water and remove any remaining ice before starting a cleaning cycle.
- Use only recommended cleaning solutions to avoid damaging the machine’s parts.
- Keep the exterior clean by wiping it down with a damp cloth and drying it after each use.
- Allow all parts to air dry fully before using the machine again to keep ice fresh and odor-free.